

 NEW ARRIVALS
 BEST SELLERS
 SUPERSKIN™
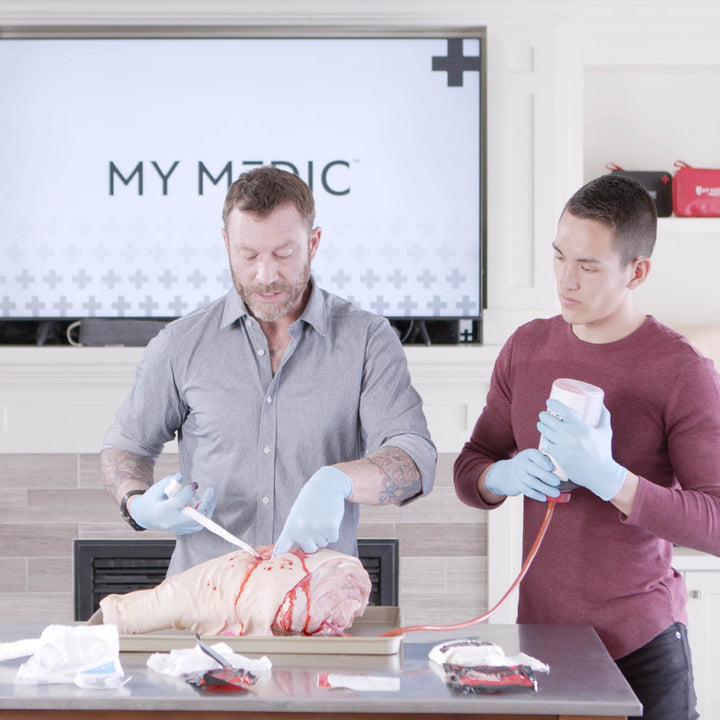 COURSES
 GIFT CARDS
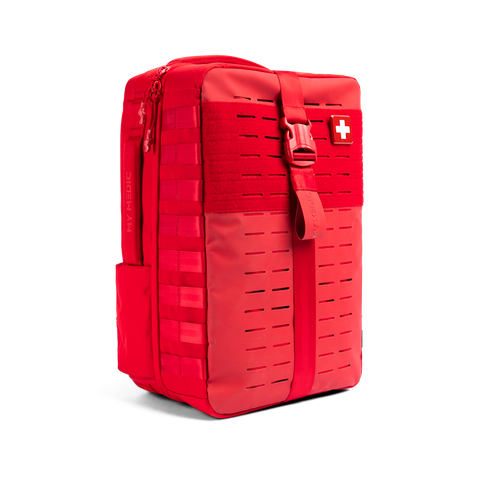
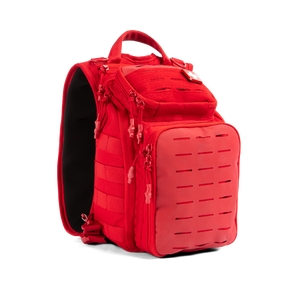
 The MyFAK Collection
 Specialty
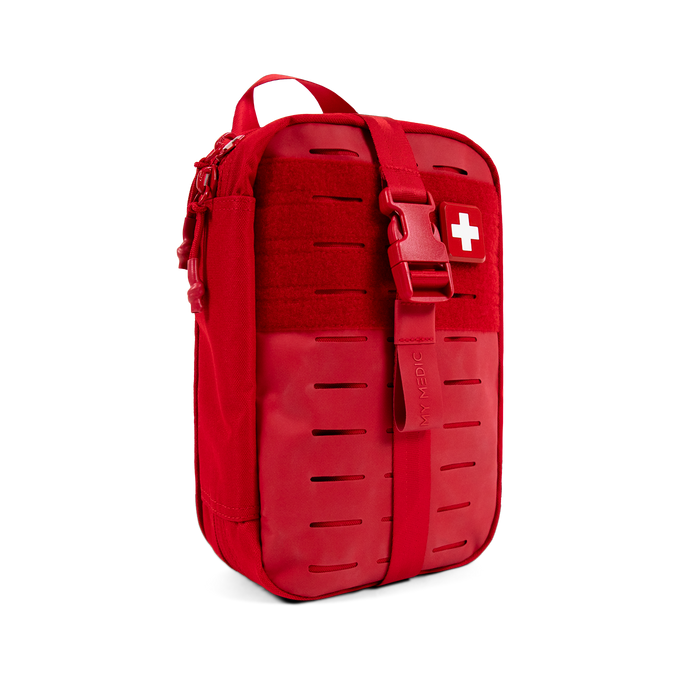
 Everyday Rescue Series
 BLEED
BLEED
 OUTDOOR
 TOOLS & DEVICES
 AIRWAY
 BLEED
BLEED
 OUTDOOR
 BURN
BURN
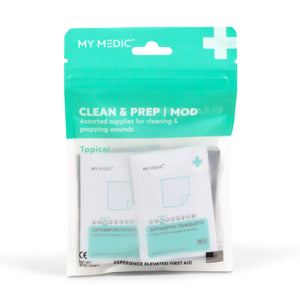 TOPICAL
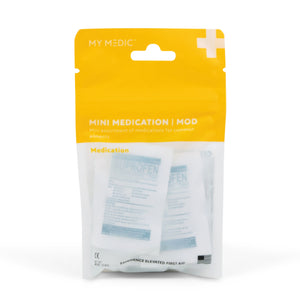 MEDICATION
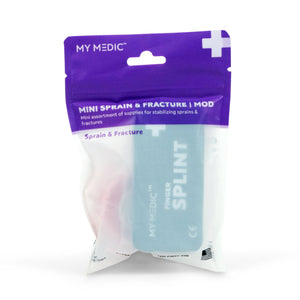 SPRAIN & FRACTURE
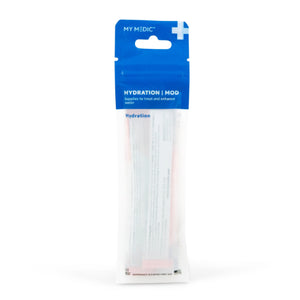 HYDRATION
 TOOLS & DEVICES
 Supply Categories
 Top Sellers

Blog post:
Emergency Preparedness Checklist

National Preparedness Month isn’t a month to think “Yeah they’re right, I should probably be prepared”, and then go back to scrolling through Instagram. It’s a reminder for everyone to double check their preparedness and get tips on how to do better and what to prepare, and then DO IT. This is an article for those tips.
We will break down this article into the three basic steps the American Red Cross recommends for emergency preparedness:
- Get a kit. Learn the basic supplies to put into your family’s preparedness kit
- Make a plan. Plan effectively for you and your family in case of an emergency.
- Be informed. Understand which disasters are likely to occur in your area and what you must know to stay safe.
Get a Kit
After an emergency, you may need to survive on your own anywhere from several days to several weeks. Authorities recommend having your own food, water and other supplies to last for at least 72 hours, but many disasters have left people with no help for as many as 2 weeks. Being prepared means being able to last as long as it takes for help to arrive. A disaster supplies kit is a collection of basic items your household may need in the event of an emergency. Most of the items are inexpensive and easy to find and any one of them could save your life.
Once you take a look at the basic items consider what unique needs your family might have, such as supplies for pets or babies.
For a good place to start, take a look at MyMedic’s 10 Essentials Kit, which has basic supplies for each of the categories listed below, and supplement with additional items as needed.
Basic items

![]() Case of bottled water
Case of bottled water
![]() Water containers (sturdy, wide-mouthed bottle preferred)
Water containers (sturdy, wide-mouthed bottle preferred)
![]() Water treatment supplies (1 gallon per person per day)
Water treatment supplies (1 gallon per person per day)
![]() Dehydrated food & energy bars; canned food (and can opener)
Dehydrated food & energy bars; canned food (and can opener)
![]() Pots and pans, plates and cups and utensils
Pots and pans, plates and cups and utensils
![]() Camping stove and fuel Lighter
Camping stove and fuel Lighter
![]() Long stick matches
Long stick matches
![]() Tea candles
Tea candles
![]() Fire extinguisher
Fire extinguisher

![]() Large multi-tool; wrench or pliers (to turn off utilities)
Large multi-tool; wrench or pliers (to turn off utilities)
![]() Dust mask (to filter contaminated air)
Dust mask (to filter contaminated air)
![]() Plastic sheeting/tarp (to shelter-in-place)
Plastic sheeting/tarp (to shelter-in-place)
![]() Work gloves
Work gloves
![]() Duct tape
Duct tape
![]() 1 sleeping bag or warm blanket per person
1 sleeping bag or warm blanket per person
![]() Change of clothing
Change of clothing
![]() Sturdy, comfortable walking shoes
Sturdy, comfortable walking shoes
![]() Warm clothing layers
Warm clothing layers
![]() Rain jacket and pants
Rain jacket and pants

![]() Plastic tub for a home kit
Plastic tub for a home kit
![]() Backpack for a personal kit
Backpack for a personal kit
(Everyone should know where they are located)

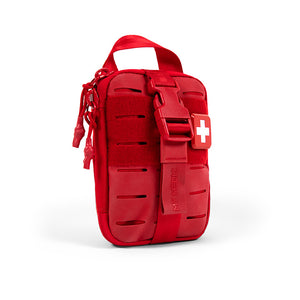
Well stocked First Aid Kit and supplies are essential. Common items like band-aids and Neosporin are essential, but most first aid kits don’t include life-saving items like tourniquets and chest seals. All of MyMedic’s advanced kits do.
![]() Prescription meds and medical items (like glasses or contacts)
Prescription meds and medical items (like glasses or contacts)
![]() Common ailment OTC meds (Benadryl, Ibuprofen, GI meds, etc.)
Common ailment OTC meds (Benadryl, Ibuprofen, GI meds, etc.)
![]() Moist towelettes, hand sanitizer, garbage bags and menstrual products
Moist towelettes, hand sanitizer, garbage bags and menstrual products
![]() Toilet paper
Toilet paper
![]() Towels
Towels
![]() Household liquid bleach -> (no colors or additives) for disinfecting (1 part bleach/9 parts water) or water treatment (16 drops in 1 gallon of water)
Household liquid bleach -> (no colors or additives) for disinfecting (1 part bleach/9 parts water) or water treatment (16 drops in 1 gallon of water)
![]() Honey
Honey

![]() Headlamp or flashlight
Headlamp or flashlight
![]() Whistle to signal for help
Whistle to signal for help
![]() Battery-powered or hand- crank radio (for news and weather alerts)
Battery-powered or hand- crank radio (for news and weather alerts)
![]() Cell phones and chargers
Cell phones and chargers
![]() Two-way radios (for short-range, phone-free communication)
Two-way radios (for short-range, phone-free communication)
![]() Extra batteries for all electronics
Extra batteries for all electronics
![]() External electronics charger
External electronics charger
![]() Small mirror
Small mirror

![]() Extra set of home and car keys
Extra set of home and car keys
![]() Cash (in small bills because businesses might not be able to make change)
Cash (in small bills because businesses might not be able to make change)
![]() Local maps
Local maps
![]() A laminated copy of your emergency plan
A laminated copy of your emergency plan
![]() Laminated copy of equipment checklist
Laminated copy of equipment checklist
![]() Laminated copy of emergency numbers, friends, family “calling tree”
Laminated copy of emergency numbers, friends, family “calling tree”
![]() Copies of important documents (Rx list, medical history, deed/lease to home, passports, birth certificates, insurance policies, etc.)
Copies of important documents (Rx list, medical history, deed/lease to home, passports, birth certificates, insurance policies, etc.)

![]() Infant formula and bottles, diapers
Infant formula and bottles, diapers
![]() Pet food, ID, meds & supplies; extra water for your pet
Pet food, ID, meds & supplies; extra water for your pet
![]() Paper and pencil and Sharpie
Paper and pencil and Sharpie
![]() Books, games, puzzles, deck of cards
Books, games, puzzles, deck of cards

![]() Gas/fuel
Gas/fuel
![]() Generator
Generator
![]() Solar Charger
Solar Charger
Make a Plan
Ready.gov has a wealth of information available on preparedness for any disaster. You should become familiar with the guidelines and suggestions for disasters specific to your area, then make a plan for your family.
A disaster plan should include the following components:
- Designate an out-of-town contact person. Choose a friend or relative who lives out of town to be a contact person. Let this person know that you will contact them to let them know your status and location after a disaster and make sure every family member has this person’s phone number. Consider giving the contact person information such as insurance policy numbers and copies of important papers.
- Choose a Meeting Location. There should be an established meeting location that every family member knows, should you get separated by a disaster.
- Make a Communication Plan. Give important phone numbers to each family member so everyone can contact each other and designated contacts after a disaster. This should be a physical written or printed list, in case phone batteries die and charging is not possible. Make sure children know how and when to make emergency phone calls.
- Designate Escape Routes. Make sure everyone knows escape plans for every possible disaster. For example, create several escape routes in case of fire, separate instructions for tornados, etc.
- Make a Floor Plan. Create a floor plan of every level of a home that includes windows, doors, stairways, large furniture, disaster supplies, fire extinguishers, utility shut-off points, collapsible ladders, and any other relevant information.
- Make an Alternative Plan for Special Needs. For family members with special needs, make a plan to ensure that these people have necessary assistance.
- Plan for Pets. Make a plan to evacuate with pets, if necessary. Most emergency shelters don’t allow pets, so make sure you know which ones do and make a plan for where you will go. Ready.gov has many resources for evacuating with pets. Here are some.
Be Informed
It’s time to embrace your inner prepping nerd and become more informed about disasters and emergencies likely to occur where you live. This is even more important if you’re a parent or in a leadership role because you’ll likely have others depending on you to make decisions. Reading articles like this is a great place to start. Knowledge is half of preparedness.
- Learn about how to receive emergency alerts and warnings. Cell phone providers, broadcasting and streaming services, and NOAA all send them out.
- Research likely disasters where you live: Know ahead of time how to handle hurricanes, tornados, blizzards, whatever is likely to occur in your area. Make sure you stay informed about local community response plans, emergency shelters, and evacuation plans.
- Learn how to maintain your kit. Revisit your kits yearly to assess changing needs. Some supplies expire, so it’s important to check and replenish as needed every six months. For more details, read REI's How to Maintain Your Emergency Kit.
Outstanding List
Great Information
———
My Medic replied:
Glad to hear it, Rich! Stay safe out there!
It would help soooo much if My Medic would restock the Ten Essentials bag!
———
My Medic replied:
Hey Donna! Unfortunately, at this time, we have no intention of restocking the 10 Essentials. Sorry about that!
Can I get someone to help me make a plan?
———
My Medic replied:
Hey Christy! Just follow the steps in this blog, and you’ll have everything you need for your emergency plan!
Leave a comment